Baking soda paint faux clay vase is a creative craft project where baking soda and paint are mixed to create a textured clay-like surface on a vase. This technique involves mixing baking soda with paint to form a paste, which is then applied to the surface of a vase.
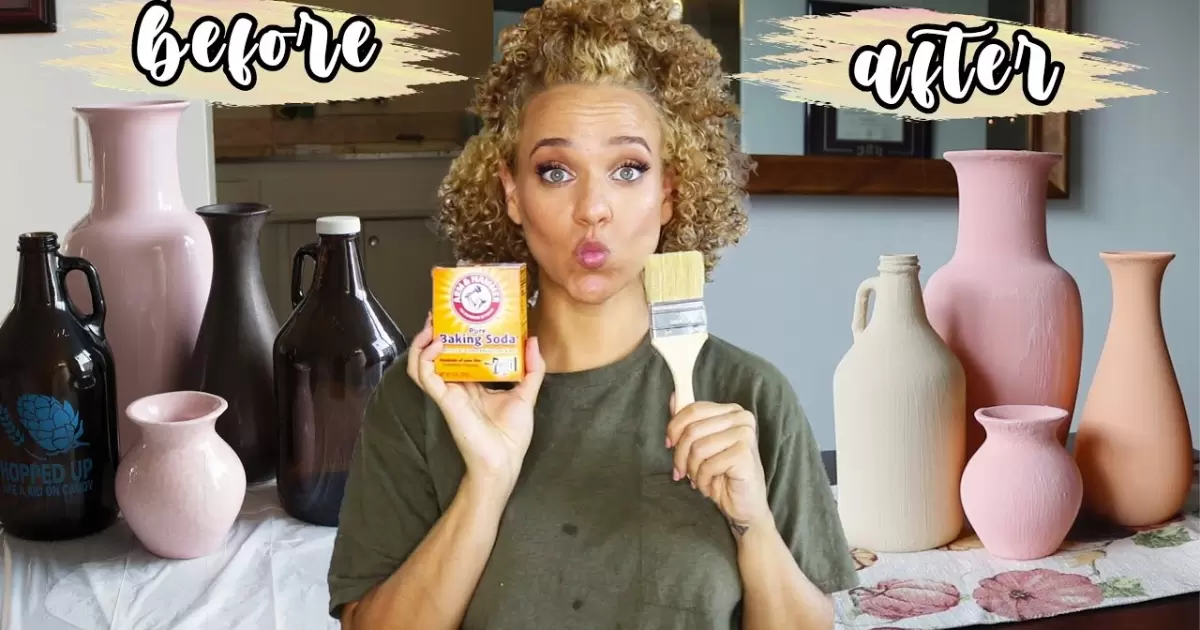
Looking to spruce up your home decor? Why not try your hand at creating a Baking Soda Paint Faux Clay Vase? This simple yet engaging DIY project allows you to transform ordinary vases into stunning pieces of art. With just a few basic ingredients and a little creativity, you can achieve a beautiful clay-like texture that will impress all your guests.
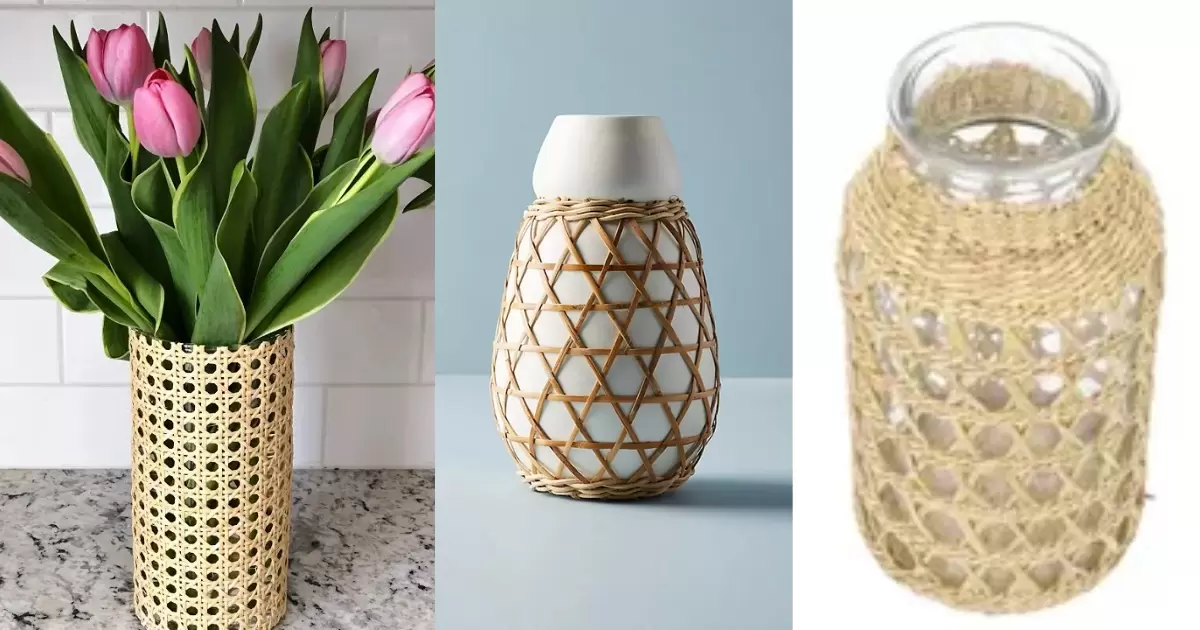
Transforming plain vases into works of art is a breeze with the Baking Soda Paint Faux Clay Vase technique. By mixing baking soda with paint, you can create a unique, textured surface that mimics the look of clay pottery. So gather your supplies and let your creativity flow with a Baking Soda Paint Faux Clay Vase!
Materials Needed for Creating a Faux Clay Vase
To start creating your own faux clay vase, you'll need a few simple materials. First, gather some baking soda, which will be the key ingredient for achieving the clay-like texture. Next, grab your choice of paint colors to add vibrancy to your vase. You'll also need a paintbrush to apply the mixture evenly to the surface of the vase.
How to make a paper mache vase? Lastly, ensure you have a plain vase ready to be transformed into a stunning piece of decor. Once you have all these materials on hand, including the vase, you're all set to begin your crafting journey and create your very own faux clay vase masterpiece.
Step-by-Step Guide to Making a Faux Clay Vase with Baking Soda Paint
Creating a faux clay vase with baking soda paint is a fun and straightforward process. Start by mixing baking soda and paint together until you achieve a thick paste-like consistency. Then, use a paintbrush to apply the mixture evenly to the surface of your plain vase. Ensure to cover the entire surface to create a textured finish.
Once you've applied the baking soda paint mixture, allow the vase to dry completely. This step is crucial for ensuring the texture sets properly. Once dry, your faux clay vase is ready to be displayed and admired in your home. Follow these simple steps, and you'll have a beautiful handmade vase that adds a touch of charm to any room.
Choosing the Right Vase Shape and Size

When selecting a vase for your faux clay project, consider both shape and size carefully. Opt for a vase that complements the style and aesthetic of your space. If you're aiming for a modern look, choose sleek and geometric shapes. For a more traditional feel, opt for classic vase shapes like amphoras or urns.
Now, consider the size of the vase in relation to where you plan to display it. A smaller vase works well as a tabletop accent, while larger vases make a statement on the floor or as a centerpiece. By choosing the right vase shape and size, you'll ensure that your Faux Clay creation enhances your home decor seamlessly.
Techniques for Achieving Realistic Clay Texture
To achieve a realistic clay texture with your Faux Clay Vase, consider employing a few key techniques. First, vary the thickness of the baking soda paint mixture as you apply it to the vase. This variation will create depth and interest in the texture. Next, experiment with different paintbrush strokes to mimic the natural imperfections found in clay pottery.
Another effective technique is to gently press or indent the surface of the baking soda paint mixture with your fingertips or a tool. This creates subtle indentations and irregularities, further enhancing the realism of the clay texture. Finally, consider adding layers of paint in different shades to simulate the appearance of aged or weathered clay. By combining these techniques, you can achieve a remarkably lifelike clay texture that adds character and charm to your Faux Clay Vase.
Tips for Mixing Baking Soda Paint for Optimal Results

Achieving the perfect consistency when mixing baking soda paint is essential for optimal results. Start by adding small amounts of baking soda to your paint, gradually increasing until you reach the desired texture. Aim for a thick paste-like consistency that is easy to spread but not too runny.
Ensure thorough mixing to evenly distribute the baking soda throughout the paint. This will help create a uniform texture on your vase surface. Additionally, consider experimenting with different paint colors and ratios to achieve custom shades and effects. Following these tips will ensure that your baking soda paint mixture is just right for creating a stunning Faux Clay Vase with optimal results.
Adding Details and Embellishments to Your Faux Clay Vase
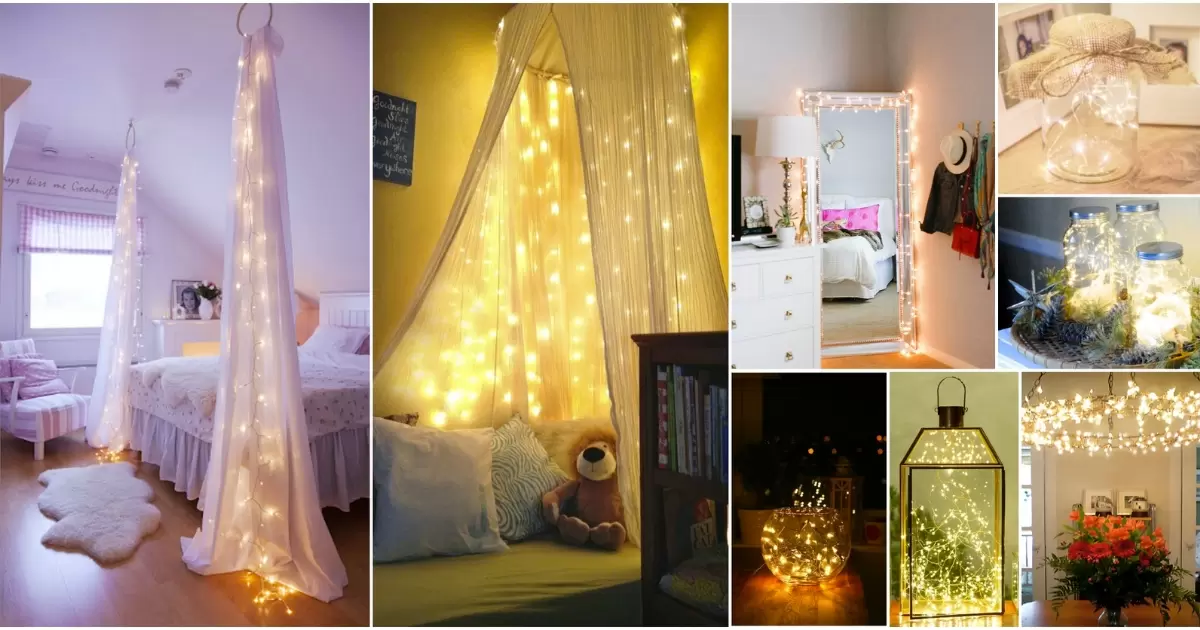
Adding details and embellishments to your Faux Clay Vase can elevate its appearance and make it truly unique. Consider using additional materials like twine, beads, or fabric to decorate the vase. These elements can be glued or wrapped around the vase to add texture and visual interest.
You can also get creative with paint techniques, such as stenciling or sponging, to create intricate patterns or designs on the surface of the vase. Don't be afraid to experiment and let your imagination run wild. Adding these personal touches will make your Faux Clay Vase a one-of-a-kind piece that reflects your style and creativity.
Tpyes of Baking Soda Paint Faux Clay Vase
|
Baking Soda Clay |
Mix baking soda, cornstarch, and water for clay-like texture. Shape and paint after drying. Lightweight. |
|
Baking Soda Paste |
Blend baking soda with paint for textured finish. Apply directly onto vase. Customizable colors. |
|
Baking Soda & Glue |
Create sturdy paste by mixing baking soda with white glue. Ideal for intricate details. Hardens well. |
|
Baking Soda Slurry |
Apply baking soda-water slurry as base coat. Enhances paint adhesion and texture. Suitable for large surfaces. |
|
Baking Soda & Clay |
Combine baking soda with clay for lightweight yet durable option. Shape, fire in kiln, and paint. Offers clay-like properties. |
Curing and Sealing Your Finished Faux Clay Vase

Once you've completed your Faux Clay Vase, it's important to properly cure and seal it for longevity. Allow the vase to air dry completely for several days to ensure the baking soda paint mixture sets properly. This curing process will help prevent the texture from flaking or chipping over time.
After the vase has fully dried, consider applying a clear sealant to protect the surface and enhance its durability. Choose a sealant that is suitable for use on painted surfaces and follow the manufacturer's instructions for application. Once sealed, your Faux Clay Vase will be ready to display proudly in your home, adding a touch of handmade charm to any room.
Frequently Asked Question
What is baking soda clay?
Baking soda clay is a mixture of baking soda, cornstarch, and water used to create a clay-like material for crafting lightweight objects.
How do I make baking soda paste?
Baking soda paste is made by blending baking soda with paint to create a textured mixture suitable for crafting and painting projects.
Can I use baking soda and glue for crafting?
Yes, mixing baking soda with white glue creates a sturdy paste ideal for crafting, providing good adhesion and allowing for intricate detailing.
What is a baking soda slurry coat?
A baking soda slurry coat involves applying a mixture of baking soda and water as a base coat to enhance paint adhesion and texture on surfaces.
Conclusion
In conclusion, creating a Faux Clay Vase with Baking Soda Paint is a rewarding DIY project. By following simple steps and techniques, you can transform plain vases into stunning pieces of decor. Choosing the right vase shape and size is crucial for achieving the desired aesthetic.
Mixing the baking soda paint mixture properly ensures optimal results in texture. Adding personal touches and embellishments makes each vase unique and reflective of your style. Curing and sealing the finished vase ensures its longevity and durability over time. With these tips, you can create beautiful Faux Clay Vases to adorn your home with handmade charm.